
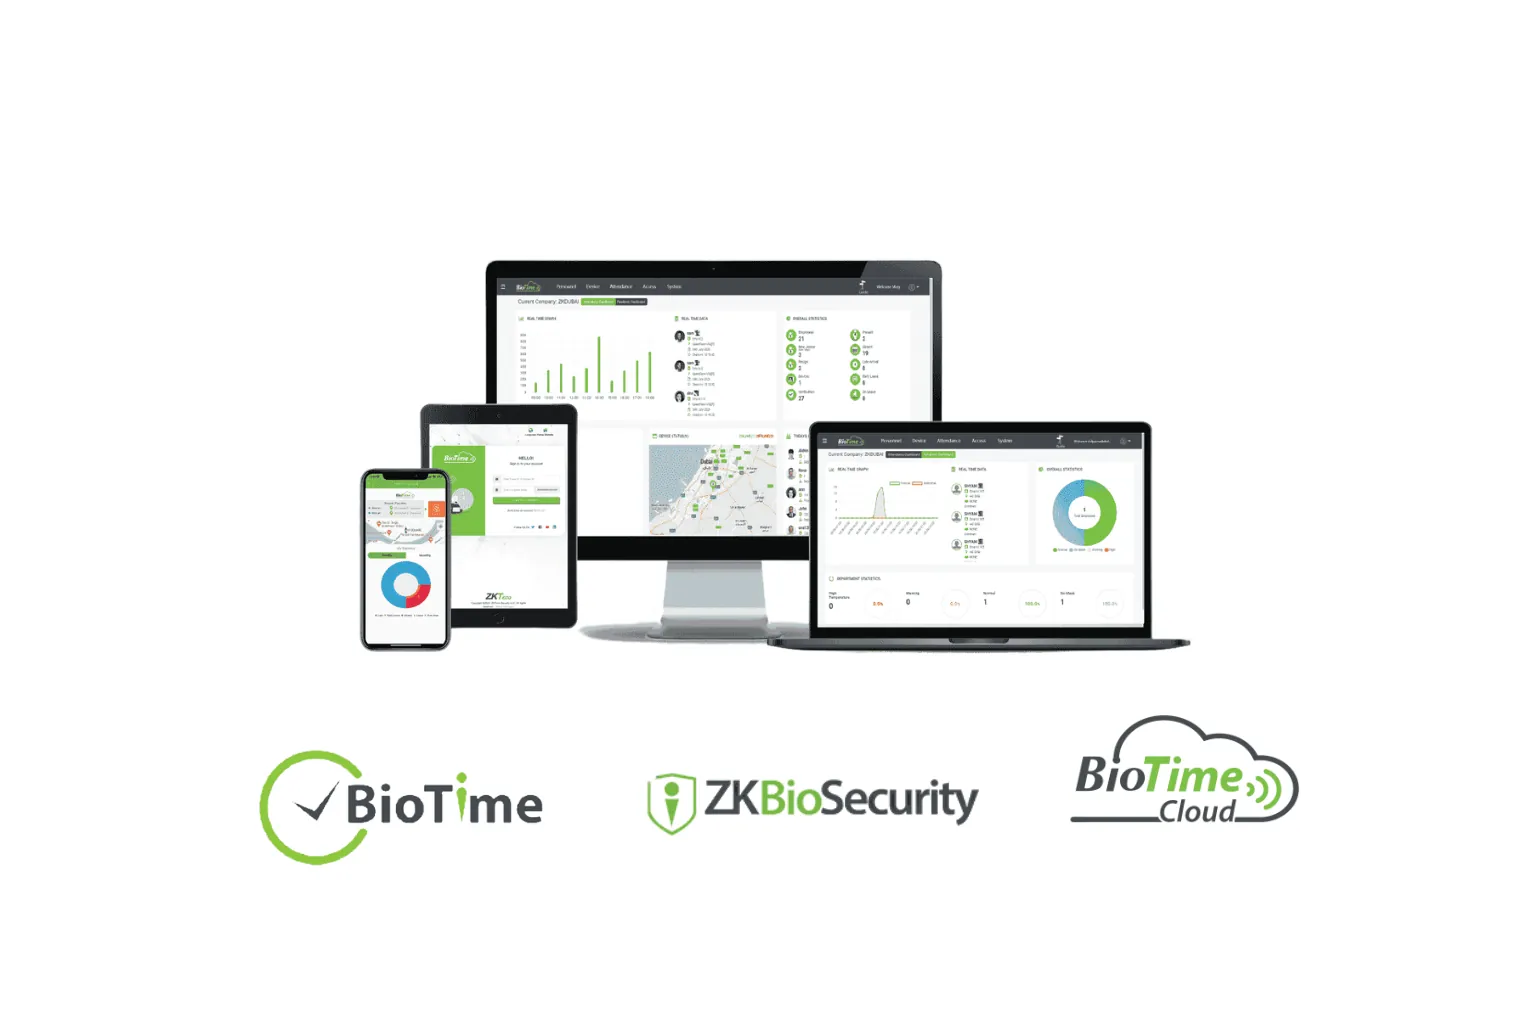
To install ZKTeco BioTime 9.5, run the installer as administrator on a Windows PC or server that stays on, choose the port and database during setup, then open BioTime in a web browser and sign in. After that you activate the licence and point each ZKTeco terminal at the server's IP address and port, so attendance records arrive automatically.
Screens and menu names differ between BioTime builds and device firmware versions, so treat the labels below as a guide rather than exact wording.
Before you start: choose the right computer
BioTime 9.5 is a web-based application. It runs as a set of services on one Windows machine, and HR staff use it from a browser. That machine is the server, so choose it carefully:
- Always on: terminals send records to the server as they happen. If the server is off, records wait on the device until it comes back.
- Fixed IP address: give the server a static IP address or a DHCP reservation on your router. If the address changes, every terminal loses its connection.
- Supported Windows version: use a current 64-bit edition of Windows or Windows Server that your BioTime build supports, with recent updates installed.
- Enough resources: memory, processor and disk needs grow with the number of employees, devices and years of records. A dedicated machine is best for larger companies.
- Administrator access: you need a Windows account with administrator rights to install the services.
Requirements change between releases, so check them for your exact build before you buy hardware.
Step-by-step installation
- Get the genuine installer. Obtain BioTime 9.5 from your authorised supplier, so the build matches your licence and devices.
- Free the port. Stop any software that already uses the port you plan to give BioTime, such as IIS or another web application.
- Run the installer as administrator. Right-click the setup file and choose Run as administrator. Accept the licence agreement and choose the installation folder.
- Set the port. The installer asks which port BioTime should use. Write it down: you need it for the browser address and for every terminal.
- Choose the database. Depending on the build, use the bundled database, which suits most small and medium companies, or connect to a separate database server. Decide first, as moving later is more work.
- Let the services start. At the end, the installer starts the BioTime services. The first start can take a few minutes.
- Allow the port through the firewall. Make sure Windows Defender Firewall, and any other security software, allows incoming connections on the BioTime port. Otherwise terminals and other PCs cannot reach the server.
First login and basic settings
Open a browser on the server and enter localhost followed by a colon and the port you chose. From another PC on the network, use the server's IP address instead of localhost. Depending on the build, BioTime either asks you to create the first administrator (superuser) account or to sign in with the account set during installation. Then:
- Set a strong password for the administrator account and store it safely. Add a second administrator for continuity.
- Set the company name, time zone, date format and language in the system settings.
- Create departments and areas (for example, one area per branch).
- Add employees, or import them from a spreadsheet, using the payroll employee number as the ID.
Licence activation: an overview
BioTime is licensed software. A new installation may run in a time-limited trial mode until you activate it. Activation links the licence to your server, online or with an offline activation file, depending on how your licence was issued.
- Activate on the final server. Licences are usually tied to the computer they are activated on, so moving to a new server later needs a licence transfer through your supplier.
- Check the scope. Make sure the licence covers the number of devices and employees you plan to connect, with room to grow.
Adding ZKTeco terminals to BioTime
BioTime receives data by push communication, often called ADMS: the terminal connects to the server, not the other way round. On each terminal:
- Give the terminal a valid IP address on your network (often Comm., then Ethernet or Wi-Fi), with the correct subnet mask and gateway.
- Open the cloud server or ADMS settings (often Comm., then Cloud Server Setting).
- Enter the BioTime server's IP address and the BioTime port. Do not enter localhost or 127.0.0.1: those addresses point to the terminal itself.
- Save and wait a minute. A connected terminal usually shows a server or cloud icon on its screen.
- In BioTime, open the device list. The terminal appears with its serial number. Assign it to the correct area and confirm it is online.
Most current ZKTeco attendance machines support push communication, but some older models and firmware versions do not, so check compatibility before you buy. To connect branches over the internet, see our ADMS setup guide.
Common installation errors and how to fix them
| Symptom | Likely cause | What to do |
|---|---|---|
| Installer stops or services fail to start | Installer not run as administrator, or blocked by security software | Run it as administrator, allow it in your security software, then reinstall |
| Browser cannot reach the page | BioTime services stopped, or wrong port in the address | Check the BioTime services in Windows Services and use the port chosen at installation |
| Port already in use | Another web server or application uses the same port | Stop the other application, or reinstall BioTime on a free port |
| Works on the server, not from other PCs | Windows Firewall blocks incoming connections | Add an inbound rule for the BioTime port |
| Terminals online yesterday, offline today | The server IP address changed | Set a static IP or DHCP reservation, then update the terminals if needed |
If a terminal still will not connect, our device offline guide covers network, firewall and firmware checks in more detail.
Need BioTime installed or fixed?
Our technicians install and configure BioTime 9.5 across the UAE: server preparation, licence activation, device connection, shifts and reports. See our ZKTeco installation service, or our repair service if an existing system has stopped working. Tell us your number of employees, devices and branches and we will send a quotation.